Use Mech It to make a DIY card
This is Spring break. Would you like to make a card that moves, as an activity with your kid? You can do it with the help of Mech It!
Mech It is the SOLIDWORKS Apps for Kids application that allows you to create mechanisms.
You have never used Mech it before? No worries, you can just dive in or check out some, or all of the nine Mech It tutorial videos to get started.
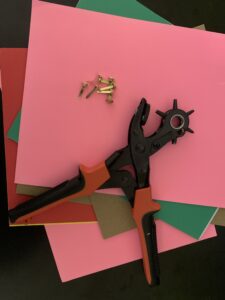
What you will need:
- a device where you can access Mech It
- a printer (optional)
- some paper
- a hole puncher (optional)
- some brass plated fasteners
- a pair of scissors
- some glue
- a pen.
*Please make sure your child has adult supervision when handling sharp tools such as scissors and razors!
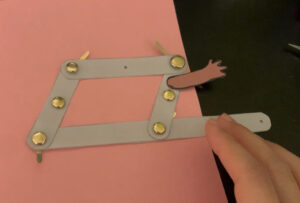
The inside of the card looks like this:
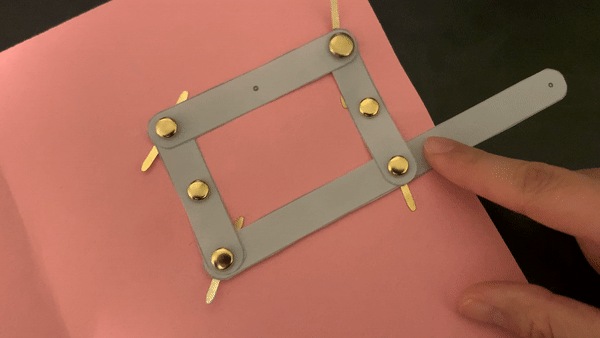
It uses a mechanical mechanism called “four-bar linkage”. A four-bar linkage is a system made up of four bars connected by joints that allows them to move in a certain way.
You can simulate a four-bar linkage on Mech It like this:
After simulating your mechanism on Mech It, here are the steps to create your real-life mechanism:
- In Mech It, lay out the bars separately
- Take a screenshot
- Print out the screenshot.
If you do not have a printer, you can also draw the bars out.
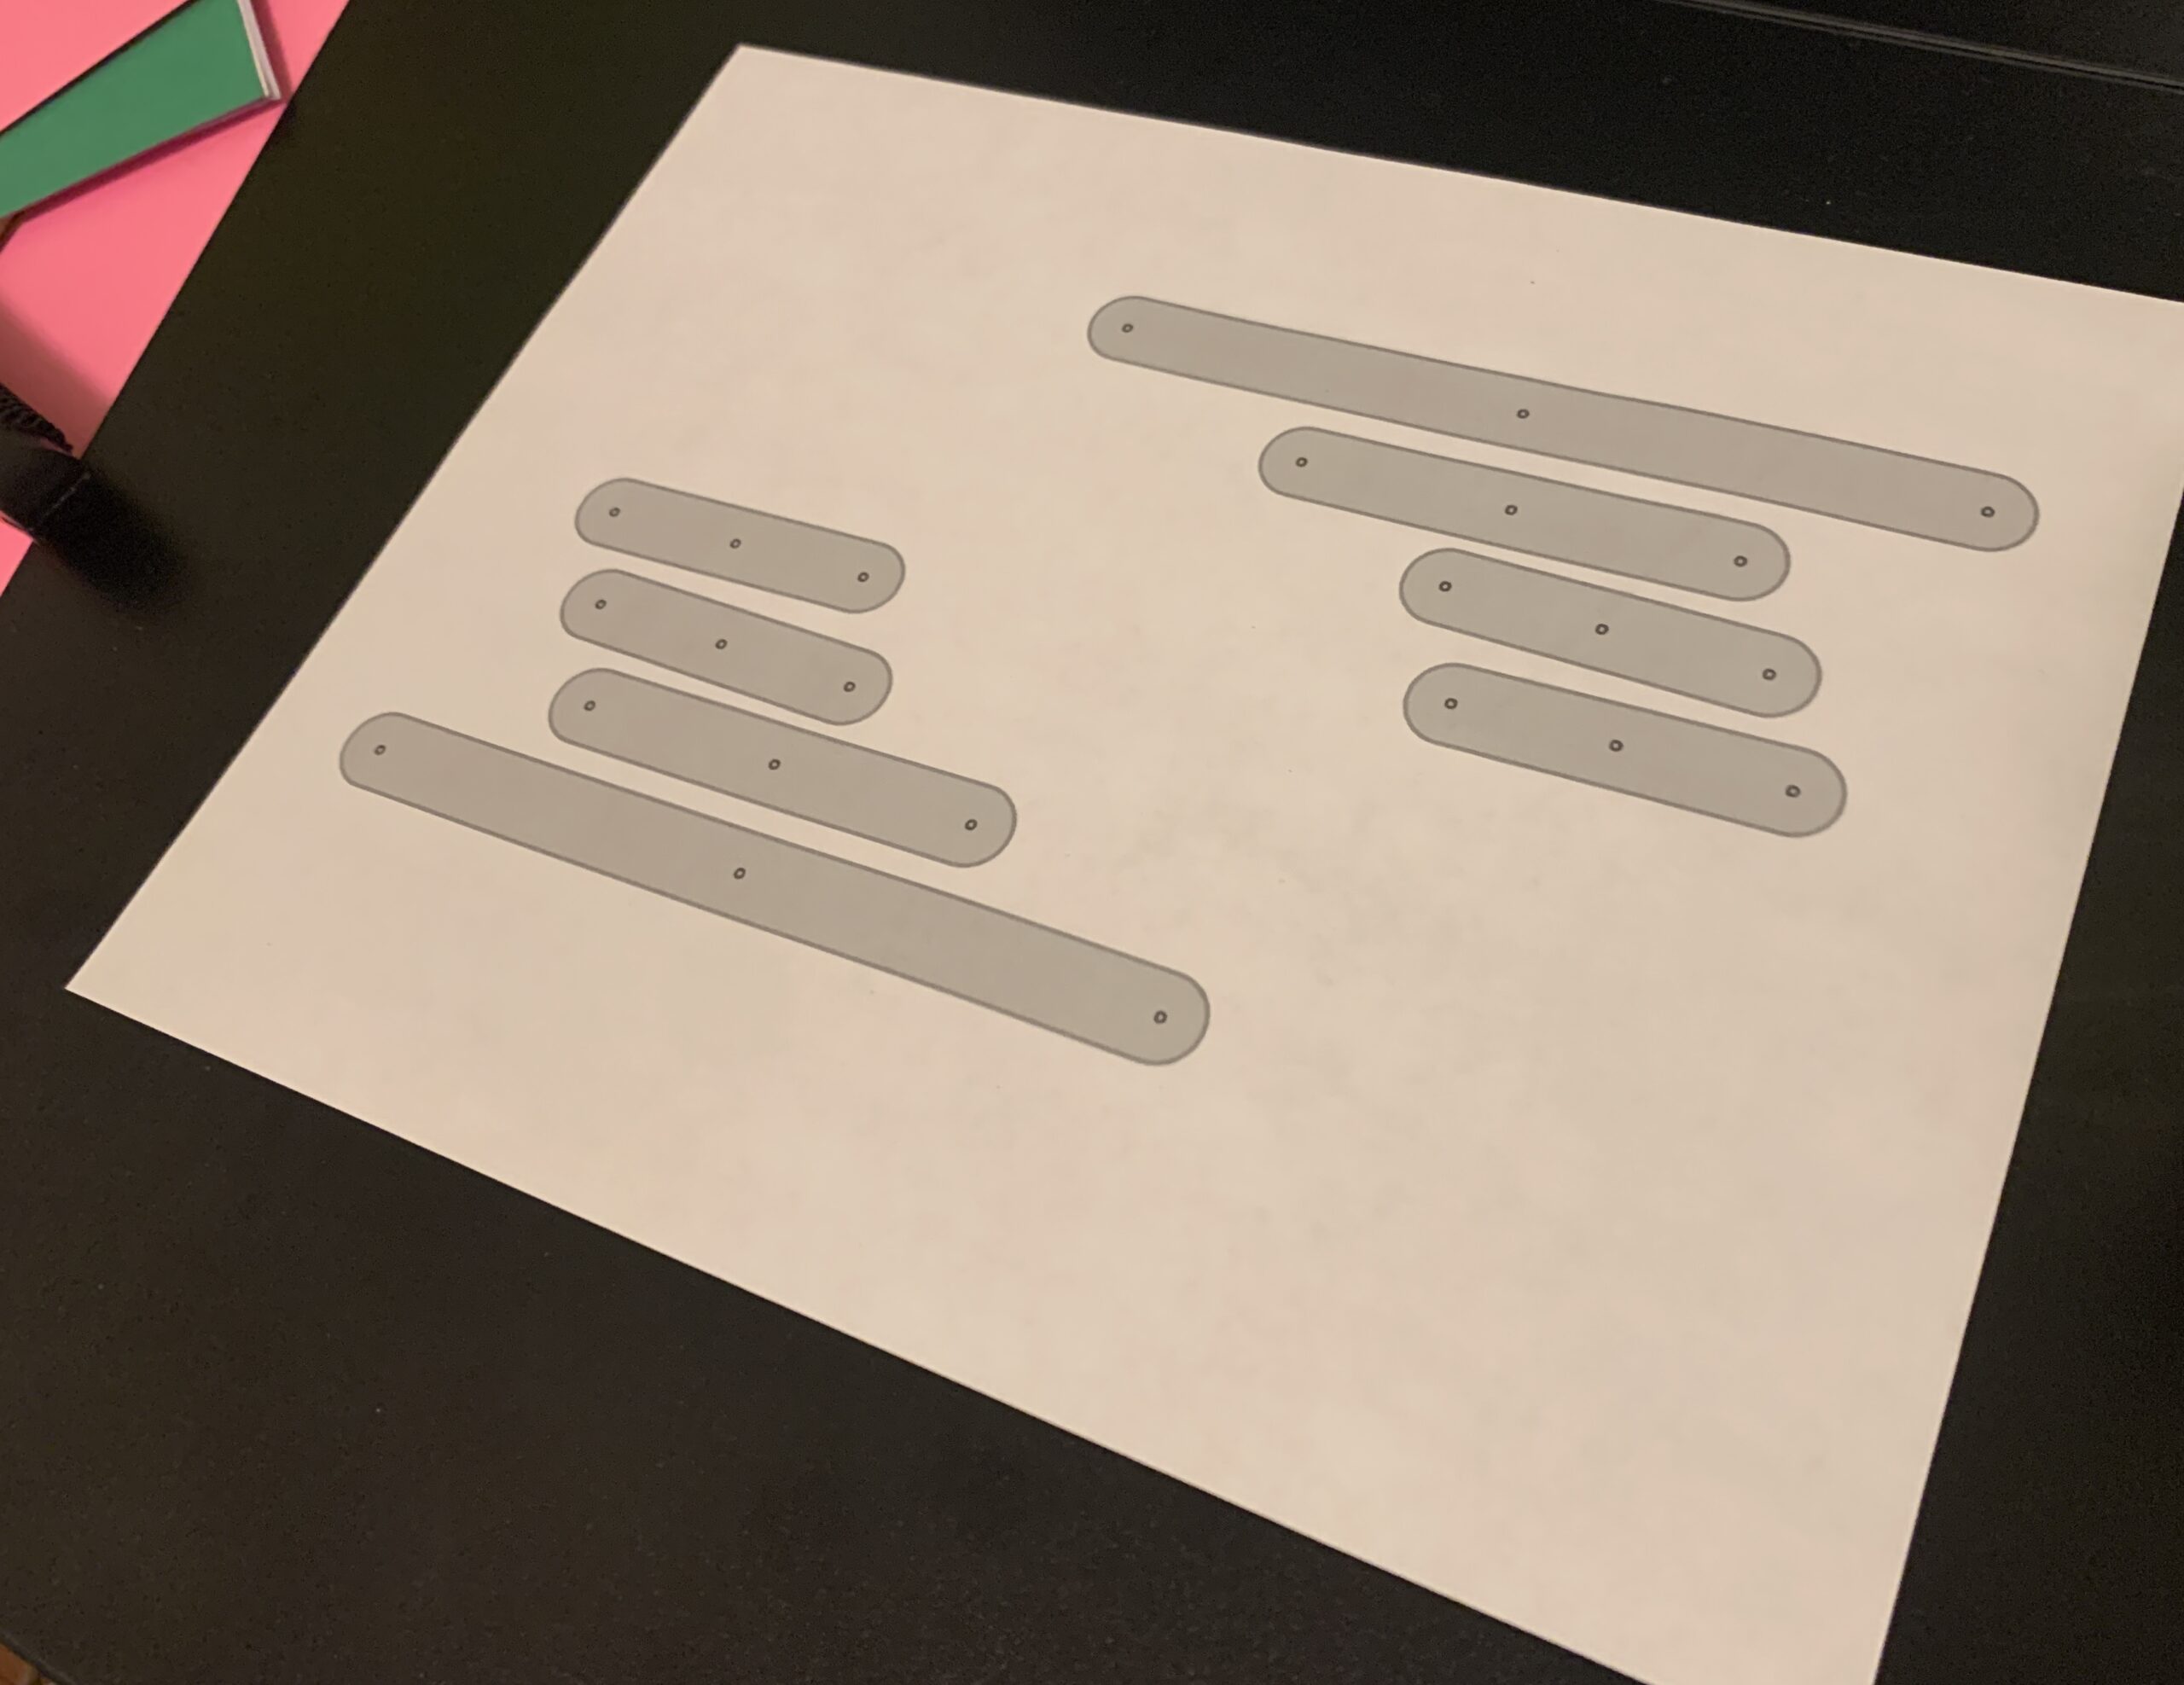
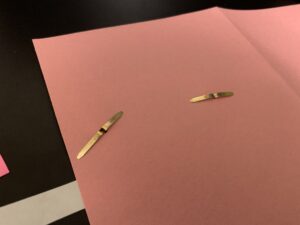
You can see on the images below how we printed the bars out and cut them off the paper.
Next steps to assemble your mechanism:
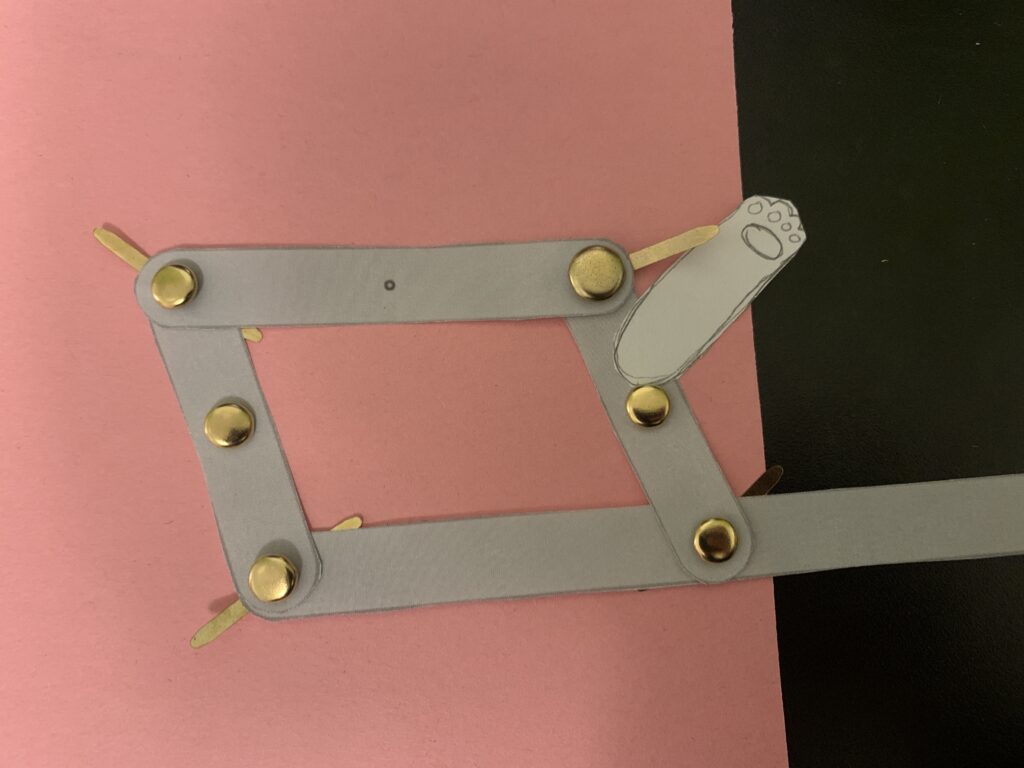
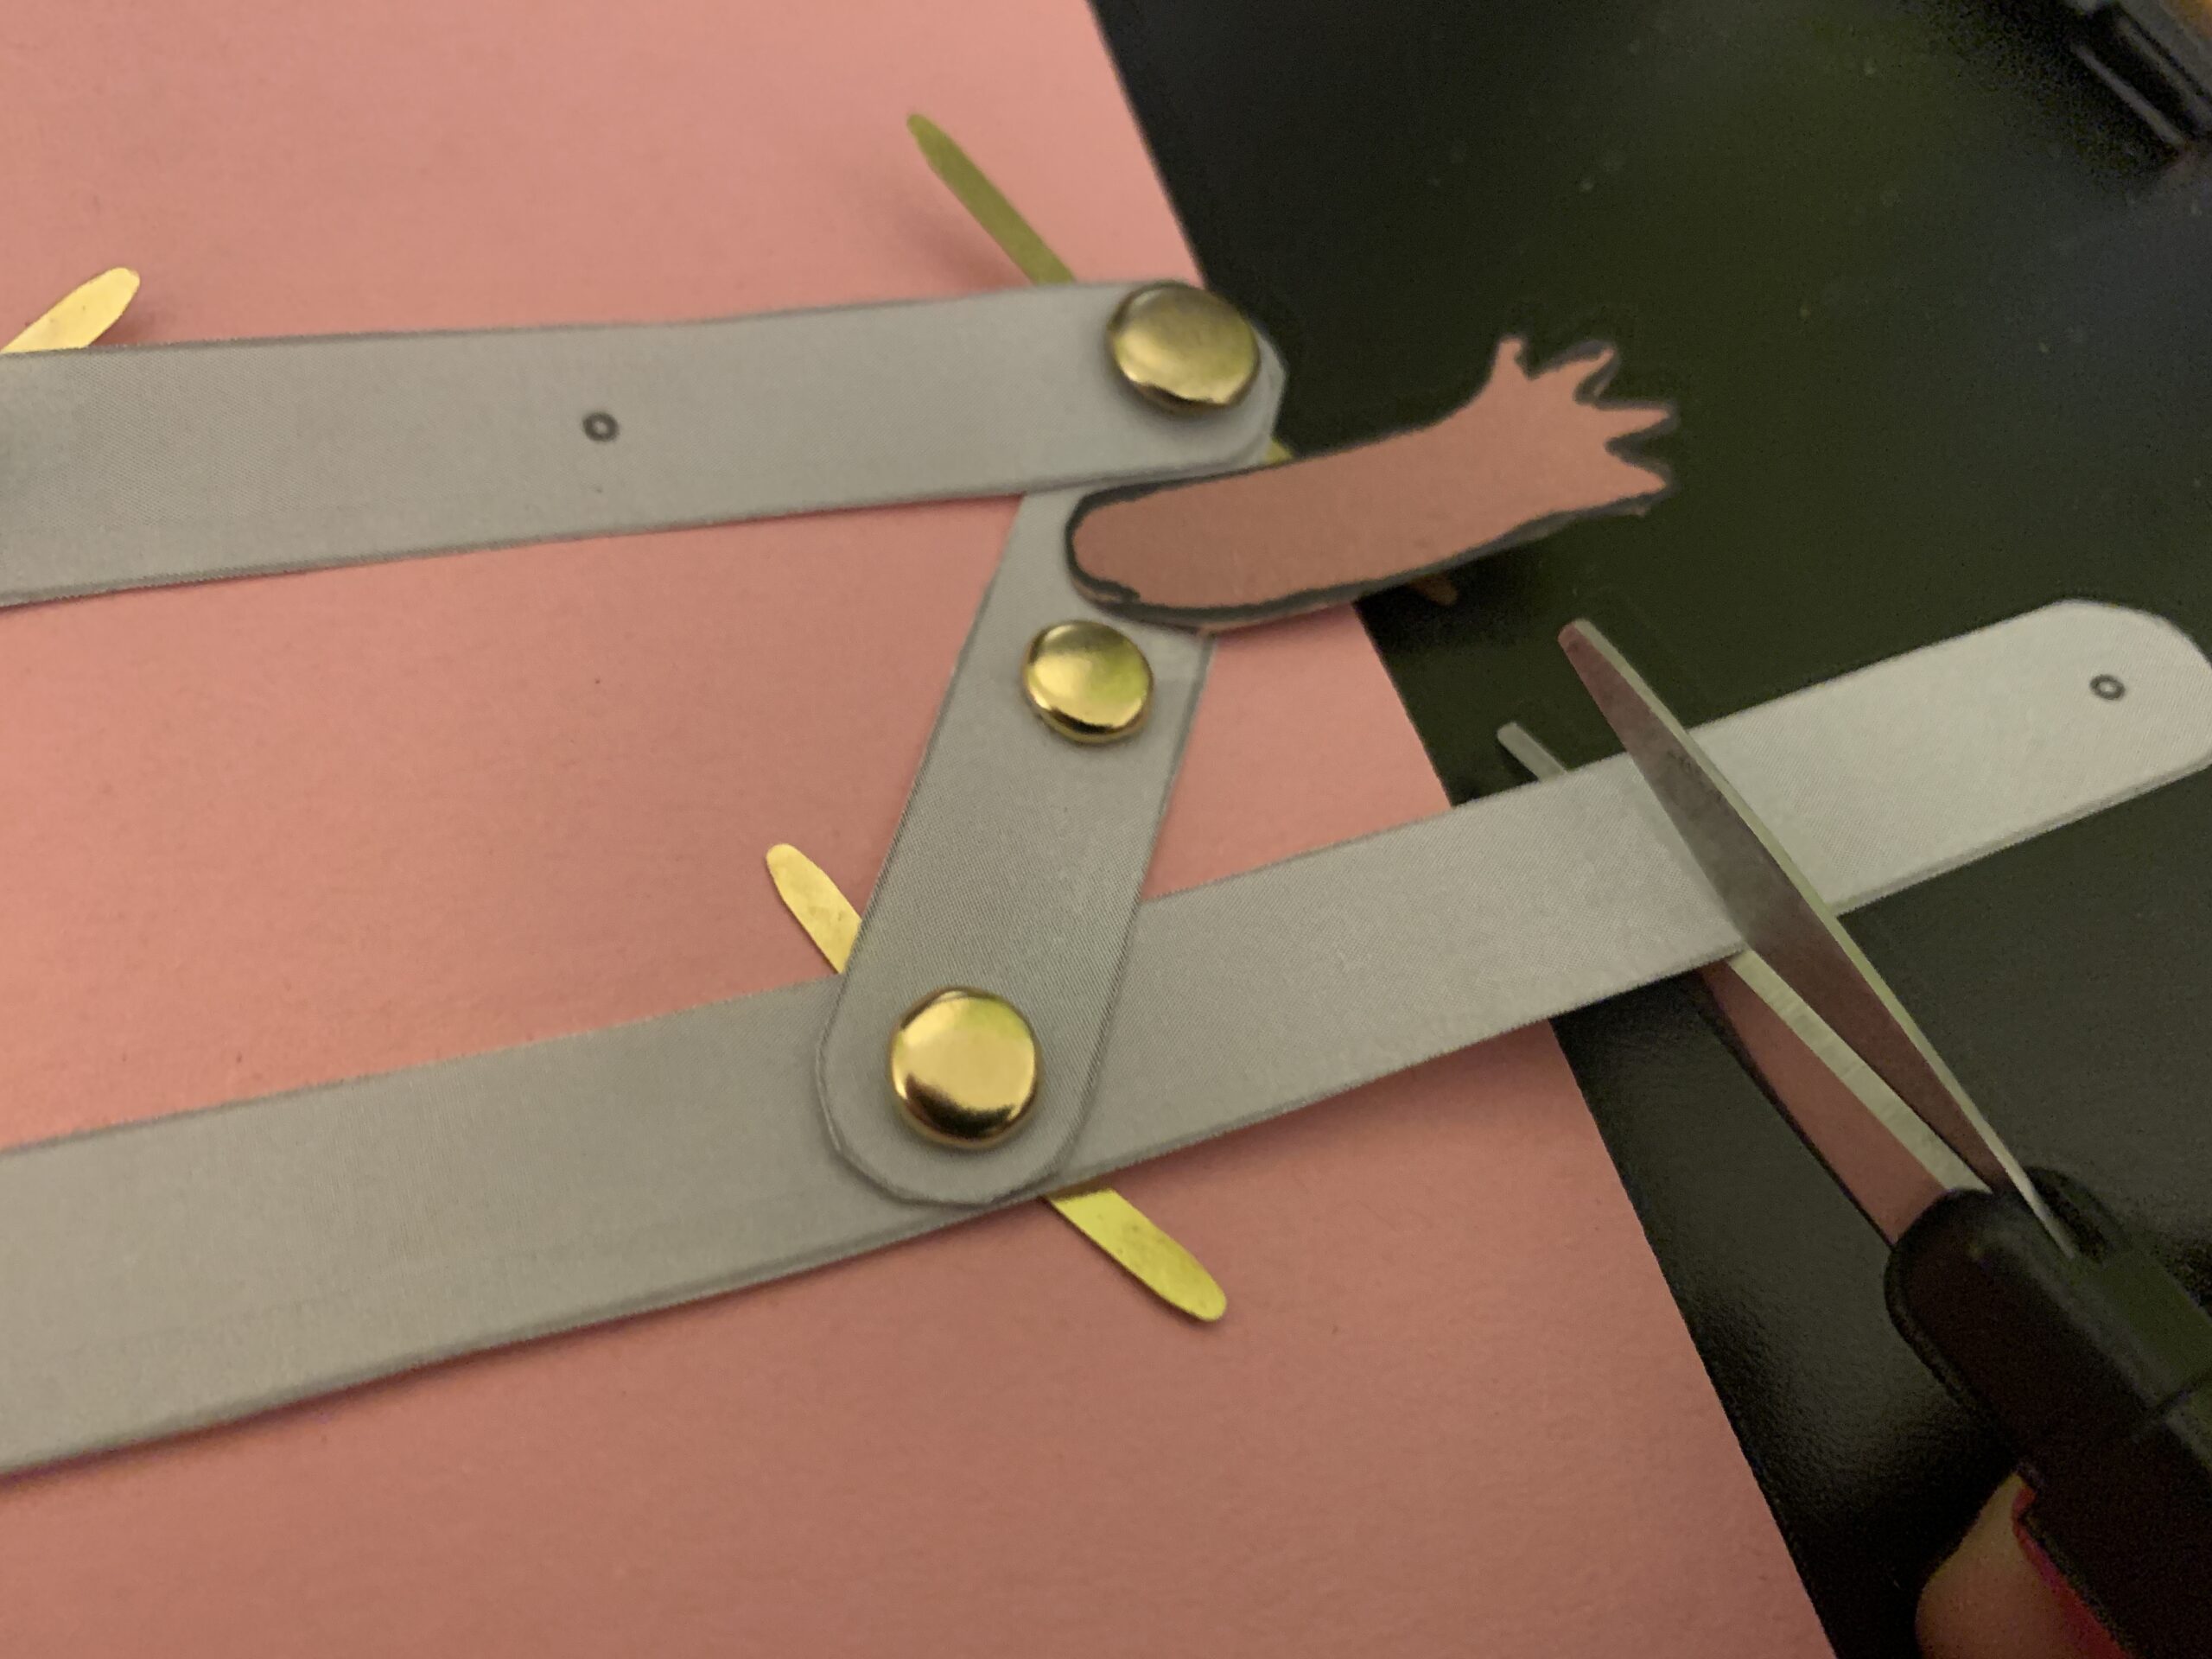
- Using a hole puncher, create holes on the bars, on points 1, 3, 4, 5, 6, 7, 8, 9, 10, and 11 (see the image below for reference).
We used a hole puncher, but you could also use a razor to open the holes with the help of an adult.
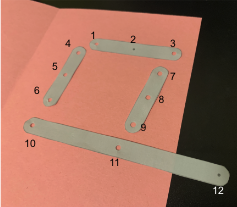
- Use brass plate fasteners to tighten these holes together:
- 1 and 4
- 3 and 7
- 6 and 10
- 9 and 11.
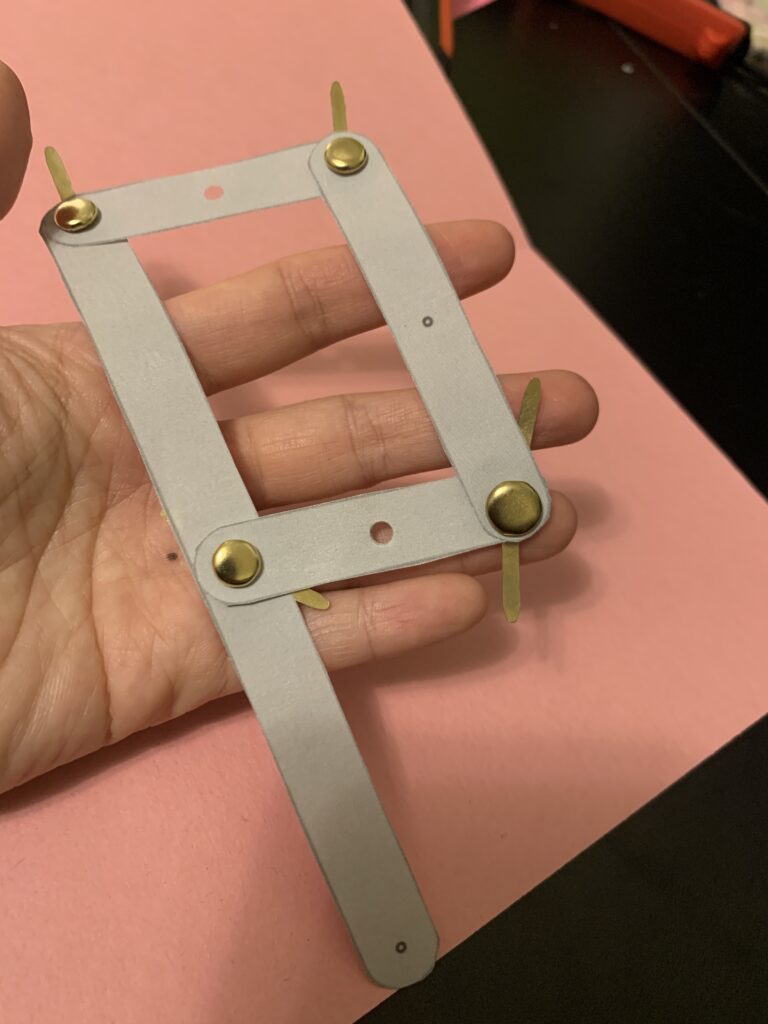
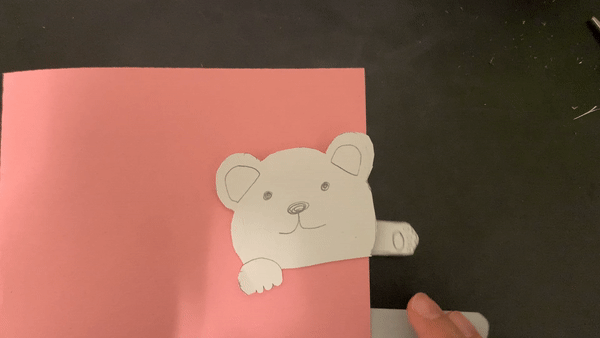
- Place your mechanism on the card and mark the placement of holes 5 and 8 on the card with your pen
- Open 2 holes on the card on the points you’ve just traced
- Fasten 5 and 8 to each hole on the card.
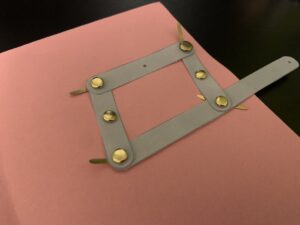
And now it moves!
Next, we will customize the card:
- Draw and cut out things that you want to put on the card.
For this example, we drew a bear’s head and paw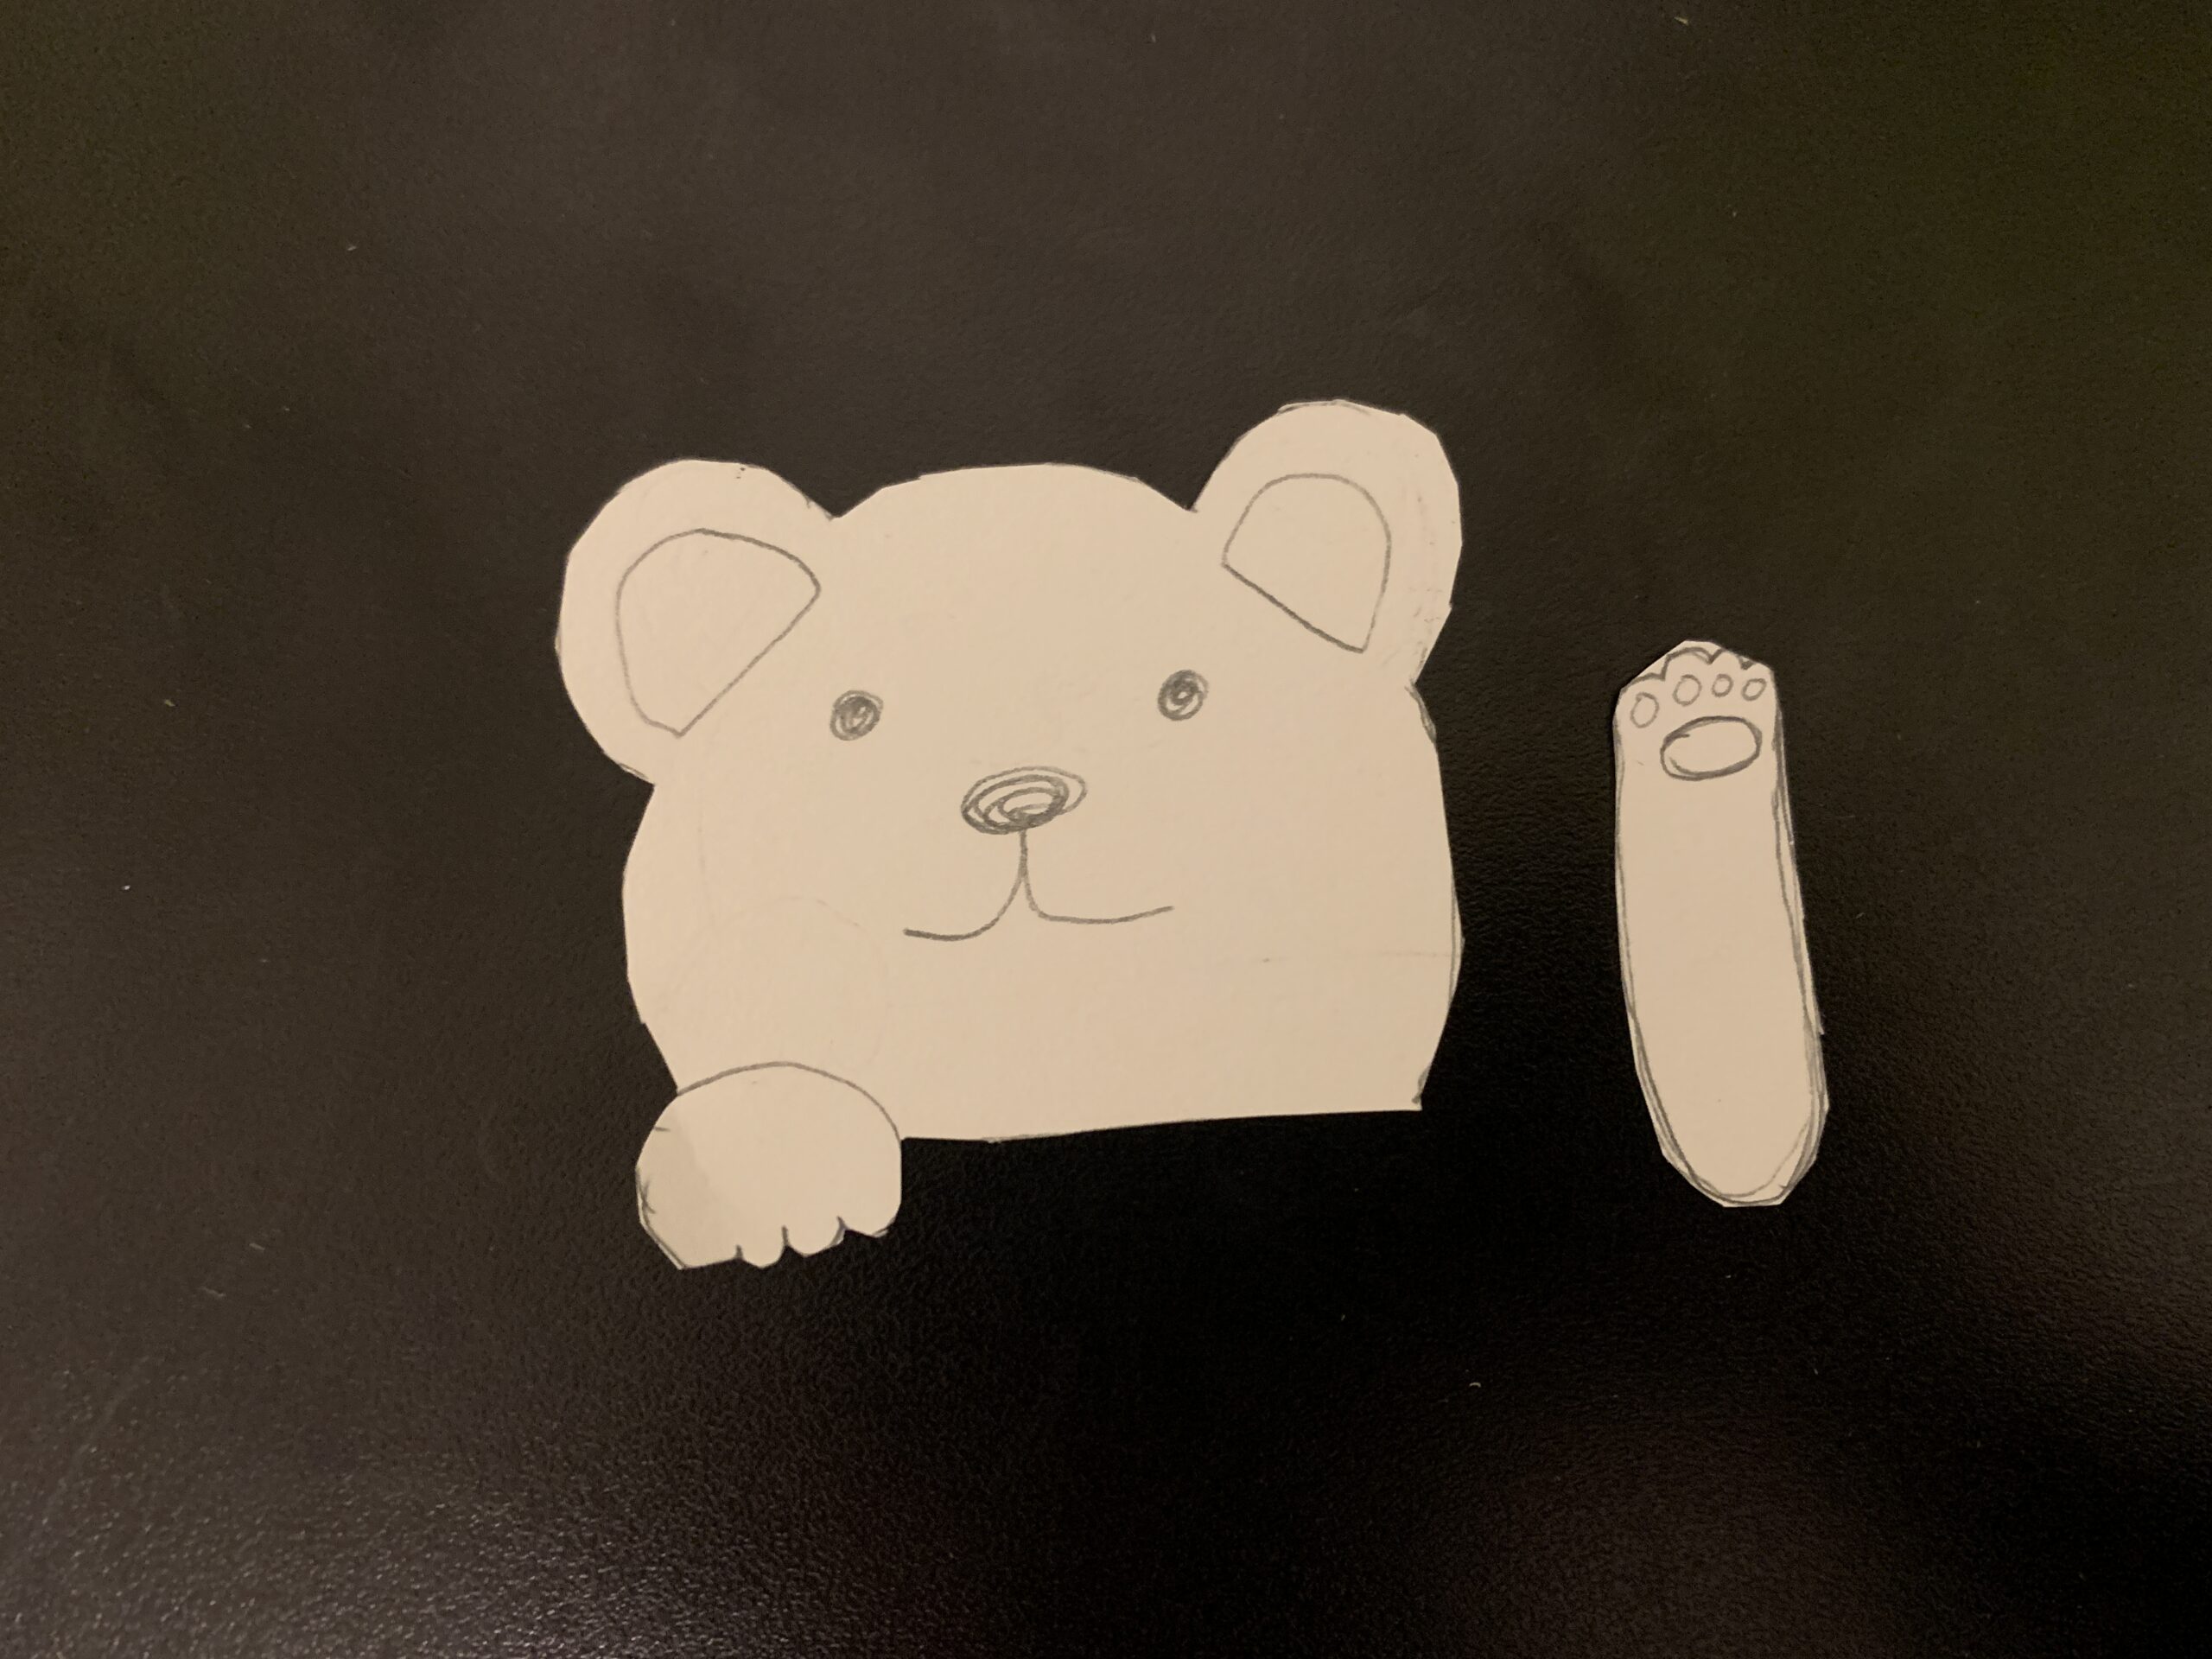
- Glue the paw onto one of the bars inside the card
- and glue the bear head onto the cover of the card.
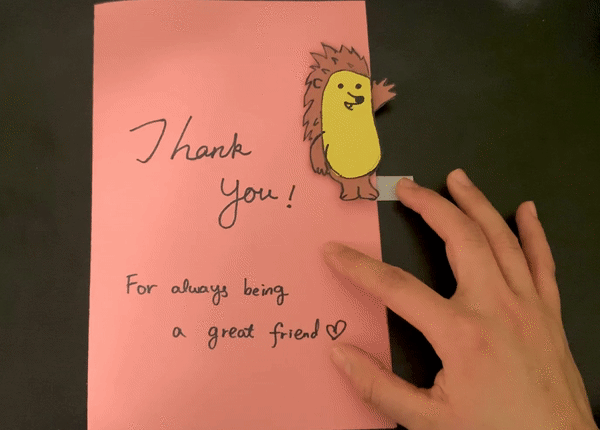
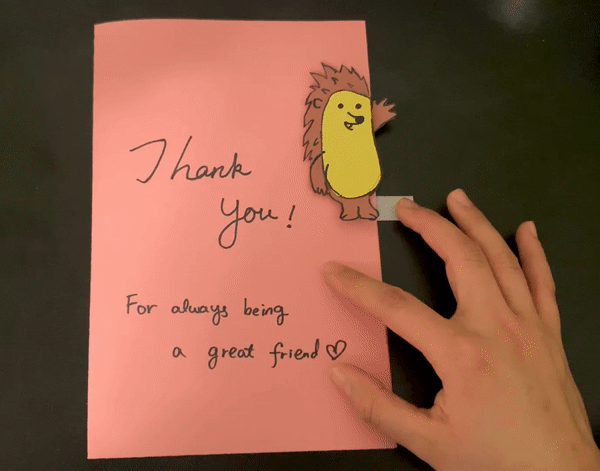
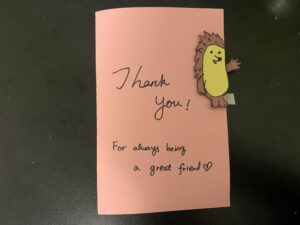
Here is another design we made: a waving hedgehog with some kind words on the cover of the card.
One last suggestion: if you find the bar used to push and pull the linkage a bit long, you can cut it shorter.
Voilà !!
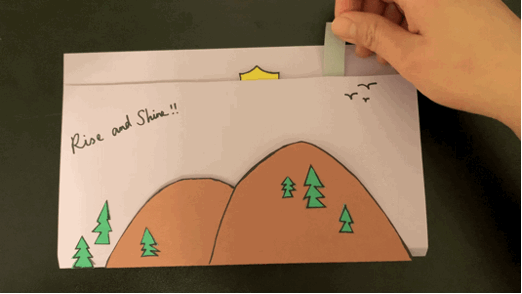
This is another design we tried out.
We made these with hand drawing, but you could also create these in Shape It and print its front view in 2D in Print It!
What would you make with your kids? 🙂
Back to Blog